
Crockpot Yogurt
Although this blog was begun when we went on our trip to Iceland, it was never meant to purely be a travel blog. We envisioned this to be all our the adventures we meet in life, home and abroad. So here is our first non-travel-themed post - homemade crockpot yogurt!
Justin and I began buying individually-packaged flavored yogurt, and it was costing us $10 per week. Ten dollars! That's a lot of money! Especially when it's something that you can make yourself! Once I realized how much sugar was in each serving of the yogurt, we made the decision that we needed to make our own yogurt for financial AND health reasons. Plus, we've been slowly eliminating all preservatives and other junk added into our food where we can. So all signs pointed to making our own yogurt.
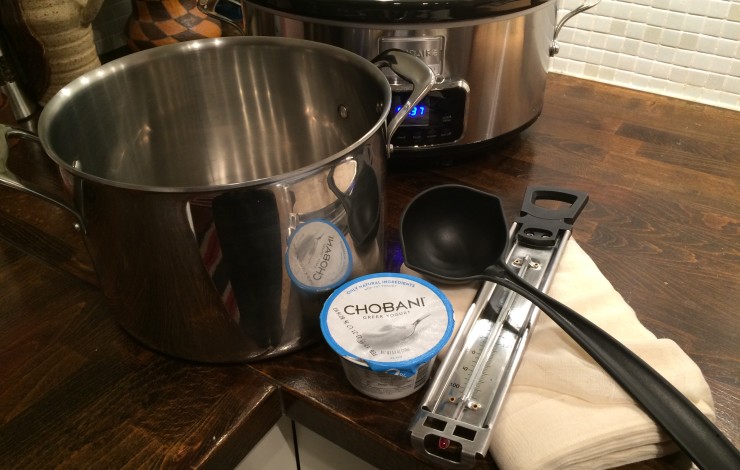
Man, is it easy! When I tell people we make our own yogurt, they look at me like I'm a wizard. Are people really that out of touch with making good, wholesome, homemade food? Most things you want to make aren't impossible - you just have to educate yourself. All yogurt takes is monitoring temperatures, some time to set up, and some time to strain. It's perfect for a weekend that you're home for maybe half the day to monitor the yogurt periodically. There are also many ways to make yogurt - in a crockpot, in a warm oven, in the microwave. But I've only tried the crockpot method, and it works perfectly for me! The supplies you'll need are: a crockpot, milk, a thermometer, starter yogurt (only for the first batch), a fork or whisk, cheese cloth, and a stockpot.

yogurt supplies - crockpot, milk (in the crockpot), thermometer, cheesecloth, starter yogurt, stockpot
Quick Notes Recipe (more detailed instructions & photos below)
Ingredients & Tools:
milk (1 gallon for a 4 quart crockpot, 1 1/2 gallons for a 7 quart crockpot)
crockpot
thermometer
2 tablespoons of starter yogurt with live/active cultures
fork/whisk
stockpot or large, deep bowl
cheesecloth
Pour milk in clean crockpot. Turn crockpot on high, and allow the milk to heat to between 180 and 190 degrees Fahrenheit. Once between 180 and 190 degrees Fahrenheit, turn the crockpot off and take off the lid. Let it cool to between 110 and 120 degrees Fahrenheit.
Remove thin layer of skin on top if needed. Between 110 and 120 degrees Fahrenheit, take about 1 cup of the warm milk out and put it in a separate bowl. Add about 2 tablespoons (per gallon of milk) of the starter yogurt, and gently whisk the starter into the warm milk until it is completely combined. Add the milk/starter mixture back to the crockpot and gently combine it all together. Put the lid back on. Place the ceramic crockpot bowl in a place that it won't be disturbed over the next 10-12 hours, ideally a place where it may stay somewhat warm.
After 10-12 hours, secure 1 layer of cheesecloth over a stockpot with clothes pins, etc. Place yogurt on cheesecloth drainer. For regular yogurt, drain for about 2 hours. For Greek yogurt, drain for about 4 hours.
Once desired consistency is reached, seal in container and refrigerate. It should keep for about 2 weeks.
Milk
I have used 1% , 2%, and whole milk, but you can use any type of milk you'd like. I don't have access to unpasteurized milk, but in theory, it would work, too. When I buy my milk, I let it sit out on the counter overnight. Since it will be pasteurized in the crock pot anyway, I take advantage of allowing the milk to come to room temperature to expedite the heating process, saving about 1 hour of heating time. I think it saves about an hour of heating time. If you don't feel comfortable doing this, keep the milk in the refrigerator! It will work just as well cold as it does at room temperature.
Crockpot
I just got a great new Frigidaire Professional series 7 quart crockpot for Christmas. I really like this crockpot because it's programmable, the ceramic bowl seems to be a good weight (my old one is so heavy!), and it can fit 1 1/2 gallons of milk in it. I have an older 4 quart Crock-Pot Manual Slow Cooker, which I had been using for 9 months before I got my new one. The 4 quart crockpot fits 1 gallon of milk in it. Any crockpot will do, and depending on how much yogurt you want to make, the size of the crockpot is really all that matters.
Thermometer
I purchased this thermometer from amazon.com. I liked how easily I could read the temperature compared to the old one I had. It is really a pain to clean, though, because of all the tiny nooks that you can't get to without using a toothpick. I've also managed to scrub off all the numbers over time, but you can still sort of see them when you turn the thermometer to the side. You will definitely need a decent thermometer for this process, though.
Cheesecloth
You will need something to strain the whey out of the yogurt after it's set up. I have tried several different things - wire mesh strainer with paper towels, a clean dish towel, and different brands of cheesecloth. I finally found a great brand of cheesecloth on amazon.com that only takes 1 layer to successfully strain the whey. The fact that it only takes 1 layer means that the package will last longer and you'll spend less money buying cheesecloth all the time!
Starter Yogurt
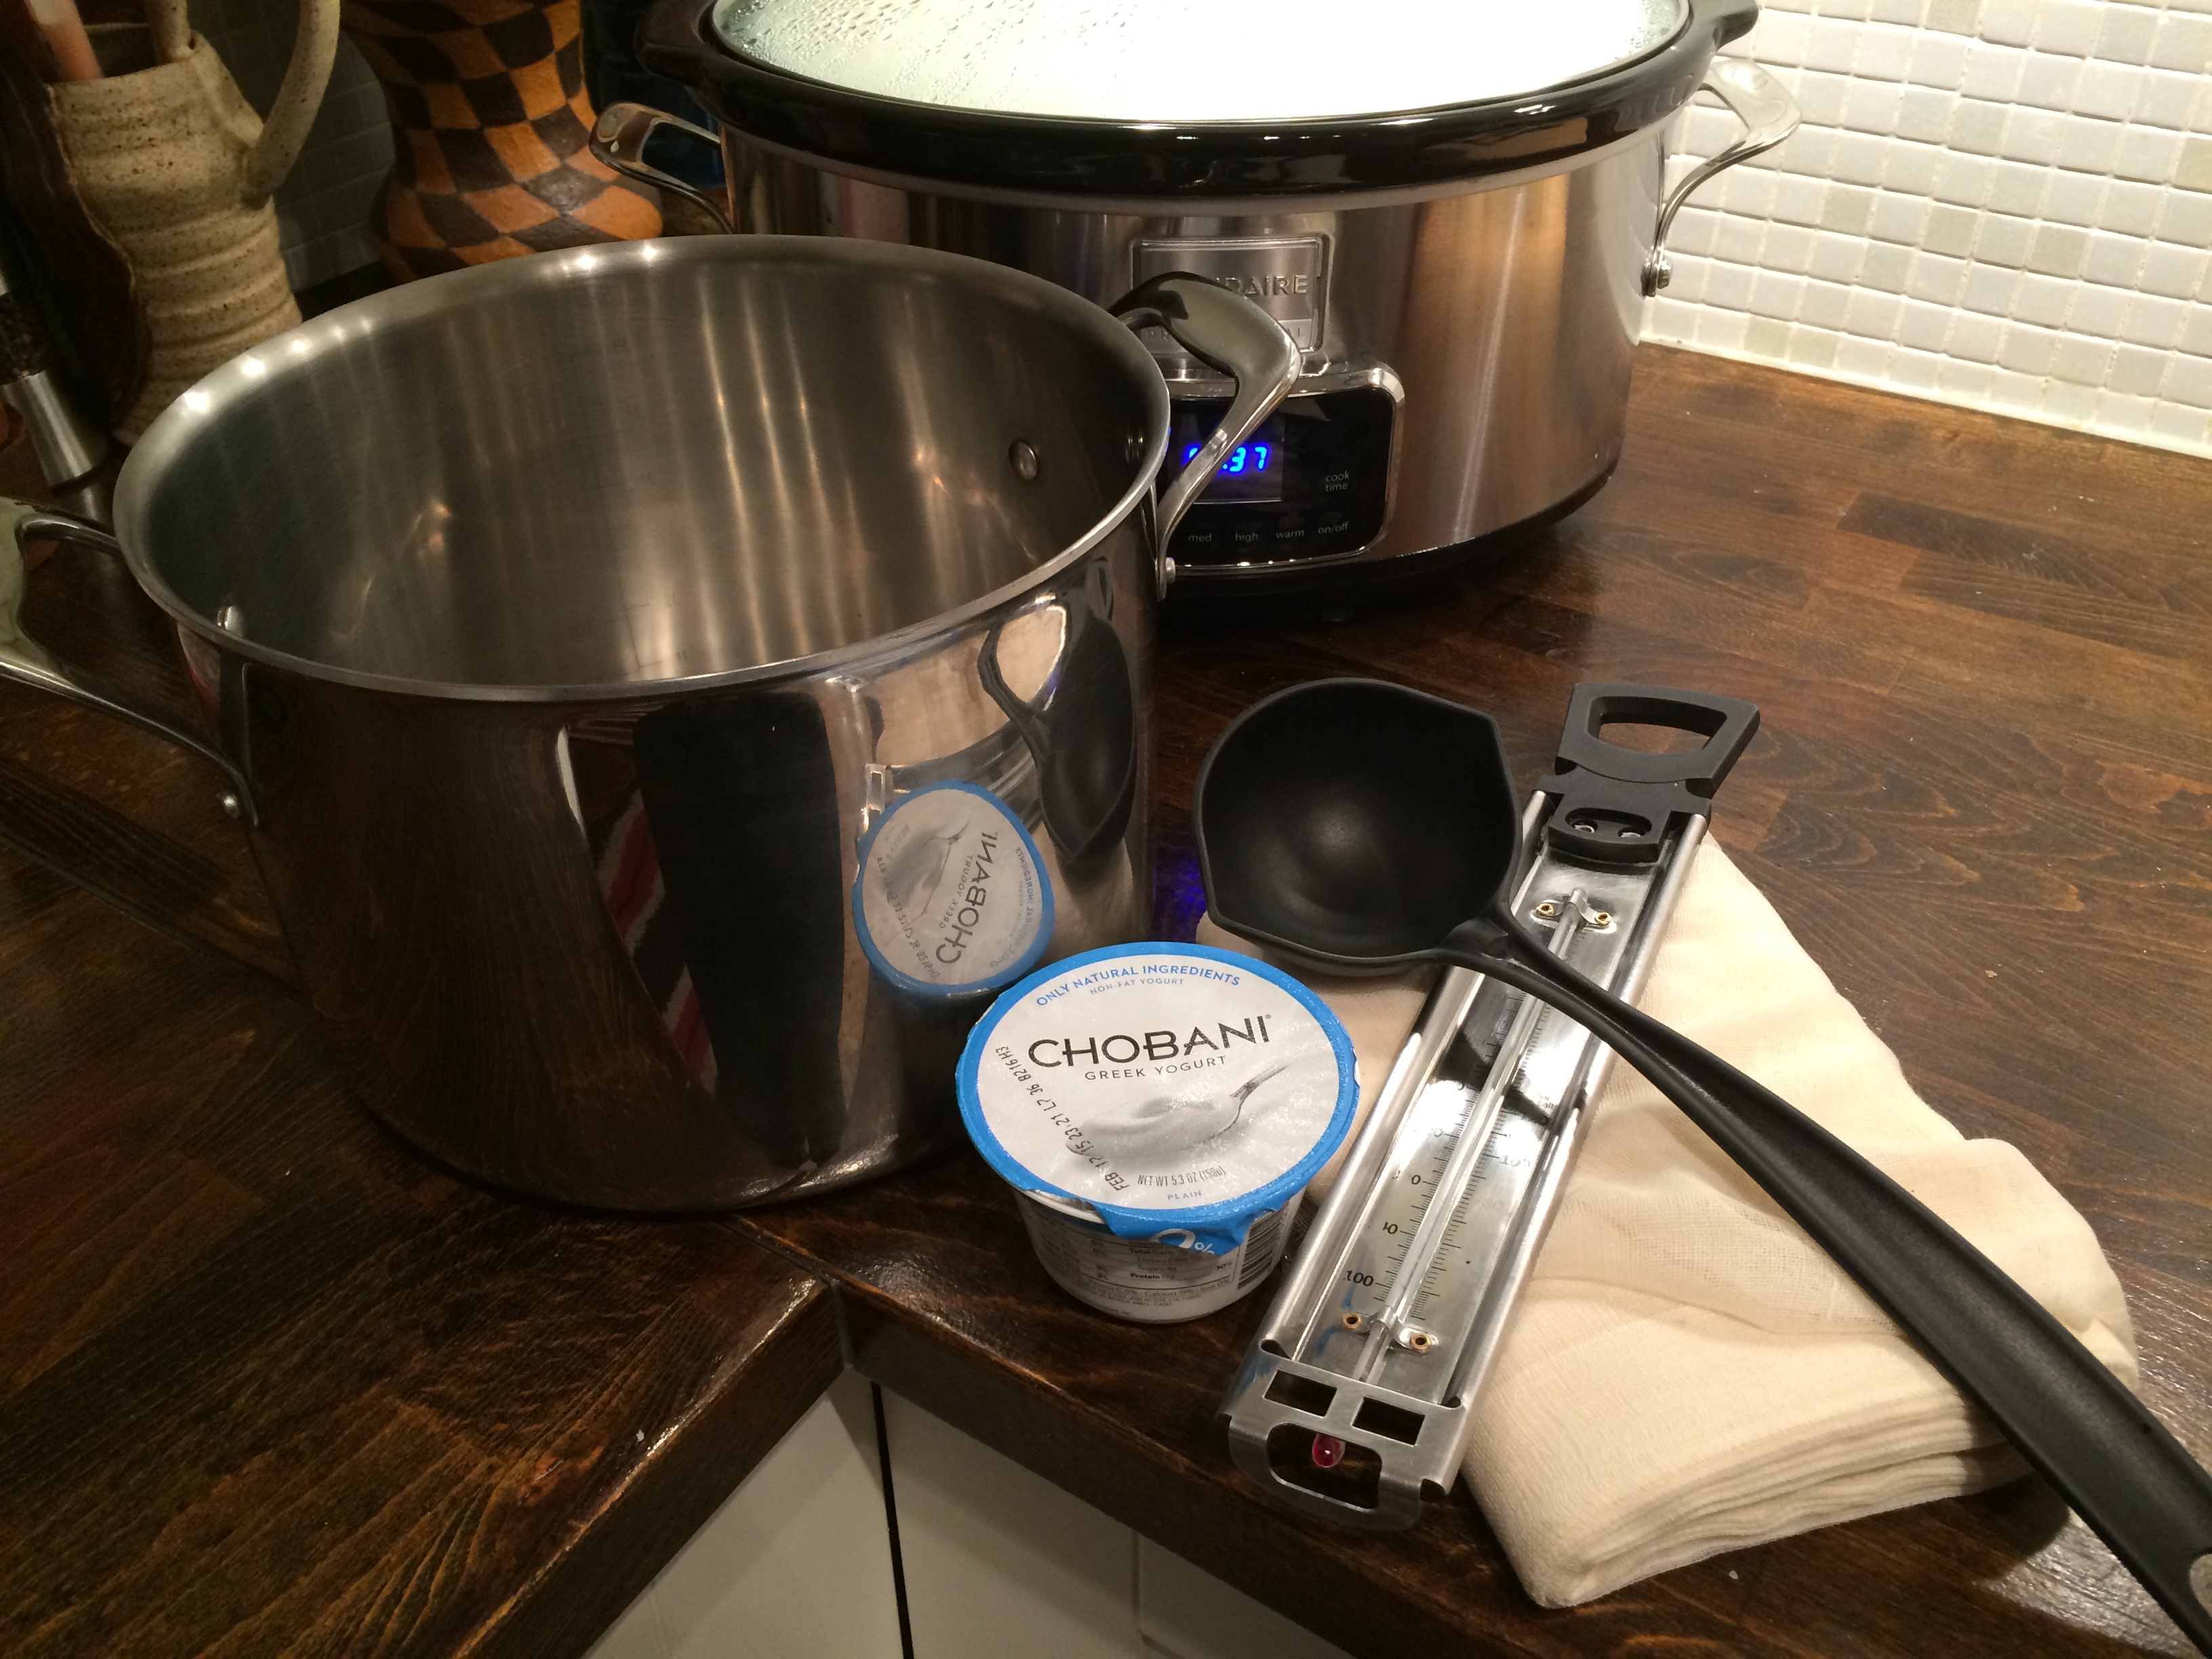
You will only need starter yogurt for the first batch since you will be saving some starter for the next batch each time you make it. I usually buy the Chobani plain Greek yogurt. You'll only need about 2 tablespoons for each gallon of milk you use, so you don't need to buy much. The most important part is that the container must state that it has live and active cultures in it.

yogurt ingredients
Yogurt Instructions
Ingredients & Tools:
milk (1 gallon for a 4 quart crockpot, 1 1/2 gallons for a 7 quart crockpot)
crockpot
thermometer
2 tablespoons of starter yogurt with live/active cultures
fork/whisk
stockpot or large, deep bowl
cheesecloth
Make sure that your crockpot is clean and free of lint or dust. Pour in the milk.
Turn the crockpot on high, and allow the milk to heat to between 180 and 190 degrees Fahrenheit - this is to pasteurize it. This typically takes me between 5 and 6 hours (hence why it's easiest to do this on a weekend, when you're around to check the temperature periodically). I tried heating it on the stove to expedite the process and just wound up with what turned out eventually to be ricotta. Like I said earlier, there are many ways to make yogurt; I just prefer this method. If the milk has been left out overnight and warmed a bit, this part will go a little faster AND you will pasteurize it anyway.

One reason I love the new crockpot is the timer feature - not as much temperature checking since I know about how long it'll take. I suppose you could use an oven timer as well, but look how cool this timer looks on the crockpot!
Once the temperature is between 180 and 190 degrees Fahrenheit, turn the crockpot off and take off the lid. Let it cool to between 110 and 120 degrees Fahrenheit. This usually takes around 1-1 1/2 hours for me. If I'm in a time crunch (i.e. virtually every time), I just put the ceramic crockpot bowl in the refrigerator on some hot pads! A little unorthodox, but it only takes 30-45 minutes then!

Cheating with a refrigerator cool down. Remember your hot pads!
Around this time, you'll be seeing a thin skin layer on top of the milk. This is completely normal. Remove it as best you can to avoid weird skin-texture in your yogurt (yuck!).

Yogurt skin removal...someone's gotta do it!
Once between 110 and 120 degrees Fahrenheit, take about 1 cup of the warm milk out and put it in a separate bowl. Add about 2 tablespoons (per gallon of milk) of the starter yogurt, and gently whisk the starter into the warm milk until it is completely combined. The warm milk should appear thicker and a bit bubbly. Add the milk/starter mixture back to the crockpot and gently combine it all together. There should be no chunks of yogurt.

mixing in the starter yogurt
Once combined, put the lid back on. Place the ceramic crockpot bowl in a place that it won't be disturbed over the next 10-12 hours, ideally a place where it may stay somewhat warm. Since my house is nearly always cold, I wrap it up in 1 or 2 towels (depending on the room's temperature) so that it has a nice warm environment to set up.

The official yogurt sleeping bag. My mother calls this stage of the process the "gurting", word coined by her, of course.
Leave the mixture undisturbed for 10-12 hours. Honestly, I usually let it go longer because I get busy, and it usually sits out overnight. Remember: the longer it sits out, the tangier is will be. After 10-12 hours, the yogurt should appear fairly solid with some liquid sitting on top of it.

The yogurt should be mostly solid with some whey present, as well. It's not exactly appetizing at this stage.
I use my 8 quart stainless steel stockpot to drain the whey - it's easy and not often in use so it's usually available for this stage. I place 1 layer of my cheesecloth over the stockpot, secured with some awesome little plastic clips I got at our local co-op grocery store, and start piling the yogurt in. The yogurt with be a strange mix of solid, lumpy, and liquidy. Pile as much yogurt on as you can - I could usually get the entire gallon on at once, but I now have to split it up to 2 rounds with my 1 1/2 gallon batches.

My mother calls this part the "wheying".
And now you wait. You can cover it with a paper towel if you'd like, but I usually keep it naked and uncovered. If you'd like regular yogurt, it will take about 2 hours to drain to the proper consistency. If you like Greek yogurt like me, it takes about 4 hours. However, life always gets in the way, and I allow it to drain overnight because I get busy. 🙂
Scoop out your new homemade yogurt (yay!) into a container, seal, and keep refrigerated. If you left it out overnight and it's REALLY super duper thick, you can add small amounts of whey back in, stirring to combine. Add only about 1-2 tablespoons at a time, or you might add too much at once. The yogurt should keep for about 2 weeks...if you don't eat it all before then. We bought these awesome glass 6.25 ounce containers purely for yogurt since they are the perfect size for about 4 ounces of yogurt + topping. Fill them all up on the weekend, and then it's just grab-and-go during your work week!

Here are the glass containers in action, filled with yogurt and waiting for honey. I don't fill them completely so that we have some room for our toppings.
Toppings
Sweeteners
Justin has a sweet tooth. A BAD sweet tooth. So we always sweeten our yogurt with local honey (added benefits for allergy-sufferers like us). We've tried Agave, but good grief that was horrible. I'm not sure if it was the Agave or the kiwi, but something did not mix well and tasted awful. In theory, I would assume real maple syrup would work, too.
Fruit
We usually cut up fresh fruit, but we have used frozen berries before - we don't even thaw them before we put them in, although it wouldn't hurt. We recommend: pineapple (favorite), mango (favorite), strawberry (favorite), blueberry, peach, pomegranate, and apple. A friend who buys our yogurt from us also has his with banana or granola. Experiment to find your favorite!
What the whey?!
Hold on, Kiley. You just left me with a ton of whey (usually around 2+ quarts)! Can I use this for anything?
Absolutely! Whey is really just water and protein, so why dump it down the drain?! You can do many things with it. Although we haven't tried it, you can make whey lemonade. Whey just tastes like liquid yogurt, so I'm sure lemonade would be good! You can substitute whey for water in bread or baked goods. I put it in our homemade bread all the time. I've used it to slow-cook a roast (YUM!). I have used it to make barley. We also freeze it in ice cube trays to make whey cubes. We add our whey cubes to our smoothies, and you could add whey in liquid form to smoothies, as well. I've also read that it's good for chicken feed, but we don't have chickens...yet. 😉
So although it does take some time, it is actually very little work for you. The benefits far outwhey (heh, see what I did there?) the time it takes to sit on your counter "gurting" and "wheying". Please try it out and see if it fits into your lifestyle! Feel free to ask questions, as well, and I will try to answer them!
1 Comments
melanielynngriffin
This is great – very detailed. I’ve always wanted to do this, but felt nervous about leaving milk out like that. I guess if it hasn’t killed you, it won’t kill me!